
Overview
This guide provides a walkthrough for using DataTongs to extract existing table data into scripts suitable for source control, allowing future modifications to be made. The primary use case for these is the deployment of seed or lookup data for each release, but it can also be useful for generating scripts that deploy test data for your CI.
Step 1: Prerequisites & Setup
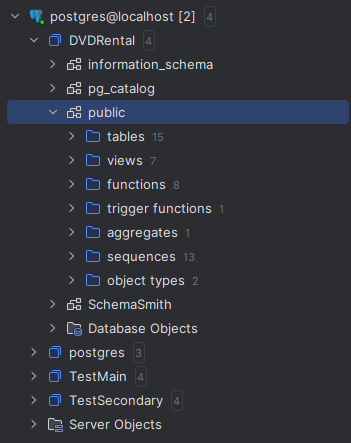
For this example, we are using the Sakila example database for MySQL, featuring data related to a DVD rental store. In our case, it is named DVDRental and we are using the docker compose file from the demo repository.
Initial Setup
Install DataTongs and configure the AppSettings.json file with the server, login
details, and the first database to extract data from. Specify the directory for the new product
and the names for the Product and Template. Renaming a template later is possible but cumbersome,
as it affects both the template file and folder, as well as the product file. Below is an example
of the edited AppSettings.json.
{
    "Source": {
        "Server": "localhost",
        "User": "TestUser",
        "Password": "**************************",
        "Database": "DVDRental"
    },
    "ScriptPath": "C:/Temp/mysql/DVDRental/Templates/DVDRental/Table Data",
    "ContentPath": "C:/Temp/mysql/DVDRental/Templates/DVDRental/Table Contents",
    "Tables": [ // { "Name": "", "KeyColumns": "", "SelectColumns": "", "Filter": "" }
        { "Name": "actor" },
        { "Name": "category" },
        { "Name": "city" },
        { "Name": "country" }
    ],
    "ShouldCast": {
        "OutputContentFiles": true,
        "OutputScripts": true,
        "TokenizeScripts": true,
        "DisableTriggers": false,
        "UpdateDescendents": true,
        "MergeUpdate": true,
        "MergeDelete": false
    }
}
The Tables section is where you provide the list of tables to extract data from.
The key columns that will be used to order the data and also match it for updating in the
generated MERGE script. You can optionally set which columns are the key for matching the
updates, which columns to include in the export, and/or a filter to scope the export.
The ShouldCast section is where you define what type of output(s) you want,
whether json exports or scripts or a combination of both. If you export scripts and set
TokenizeScripts to true the json data will be included in the script in the
form of a token that would need to be defined in your product to point to the appropriate
content file. There are also options for defining whether your MERGE scripts will also update
and/or delete data. The MERGE will always include the section to insert missing rows. In the
example product we exported the data to json files and used the built in data delivery code
to manage the updates rather than scripts but if you needed to do any custom handling, you
could generate your own script and use a token to allow separately dealing with the actual
data without needing to touch the script again unless the structure or logic changed.
Step 2: Running DataTongs
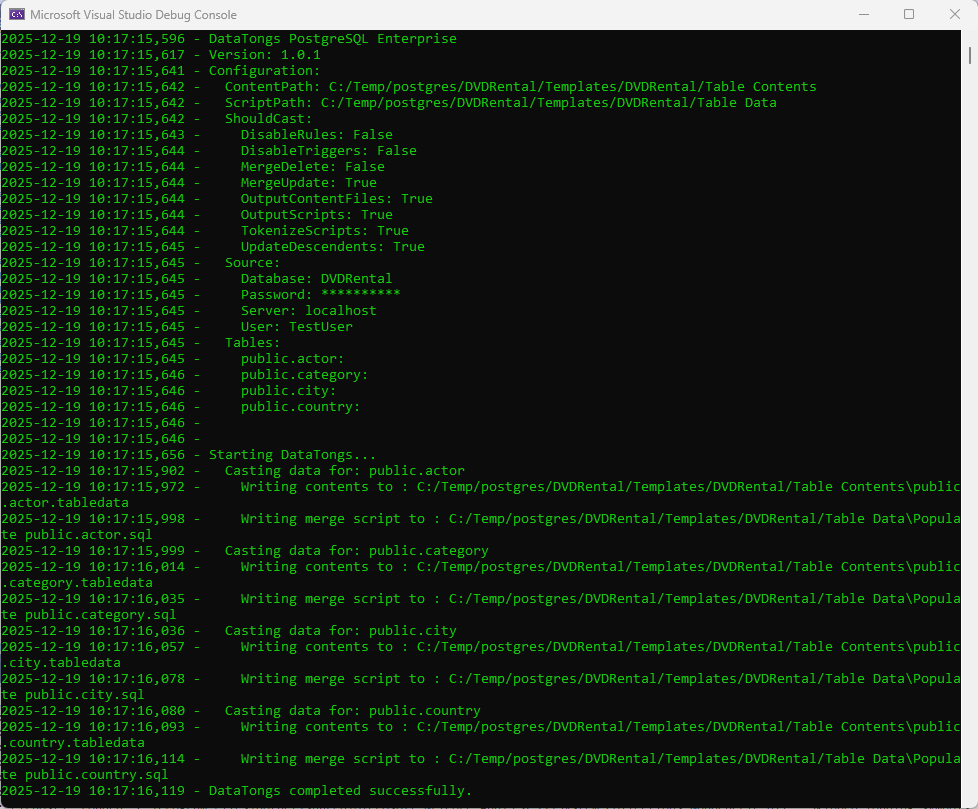
This is a console application, so it is recommended that you run from a command prompt. The need to create directories may require the command prompt to be opened in Administrator mode.
The tool will output progress to the console window and also generate log files for progress and an error log with details about any errors encountered. A successful run should look something like this with more detail depending on how many tables you configured for extraction.
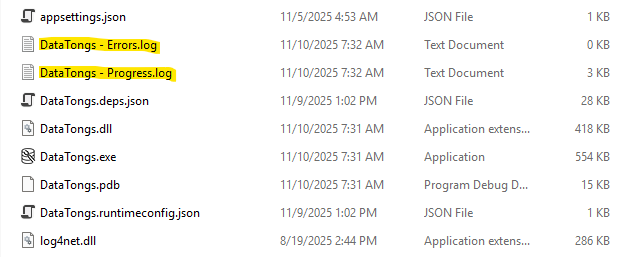
Log Output
The progress log will contain the same text as the console window and gets backed up to a numbered folder between runs, if possible, in case you need to refer back to a prior run. Error messages will go into the errors log. The files and backup folders are produced in the folder containing DataTongs.
Step 3: Casting and Deploying Data
The tool will output scripts for the table(s) specified in the AppSettings.json to
the folder you specified in OutputPath like this:

An example tokenized merge script would look like this:
INSERT INTO `actor` (`actor_id`, `first_name`, `last_name`, `last_update`)
SELECT src.`actor_id`, src.`first_name`, src.`last_name`, src.`last_update`
FROM JSON_TABLE('{{{actor.tabledata}}}', '$[*]' COLUMNS(
    `actor_id` INT PATH '$.actor_id',
    `first_name` VARCHAR(45) PATH '$.first_name',
    `last_name` VARCHAR(45) PATH '$.last_name',
    `last_update` DATETIME PATH '$.last_update'
)) AS src
ON DUPLICATE KEY UPDATE
    `first_name` = src.`first_name`,
    `last_name` = src.`last_name`,
    `last_update` = src.`last_update`;
Deploying the Data
You need only configure the content location and merge properties for each table with the data that you want to deliver and then make sure the files are located in the correct relative or absolute path at Quench time. Some companies put the data into their product repository, and some treat the data differently, generating the artifact separately in the release process. SchemaQuench only needs to know where to find them. You can do the same when using tokenized merge scripts. As long as the tokens define the correct location for the files the method of generating them and making them available is completely in your hands.

Tip
Both the Data Delivery feature and any folder designated for the TableData
quench slot will be executed with every update and will handle looping for dependency. You
can control script order via file names and Data Delivery will make a best effort to order based
on the foreign keys defined.